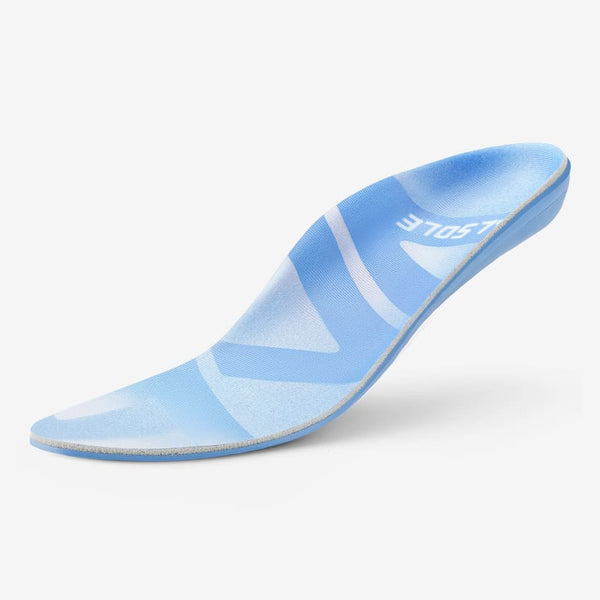
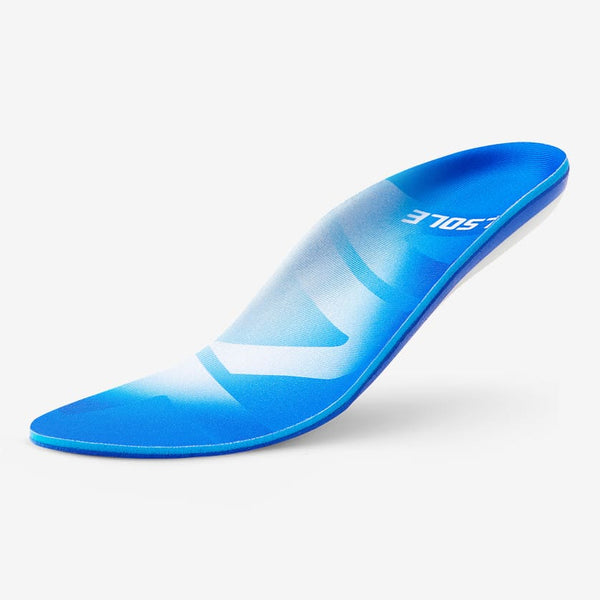

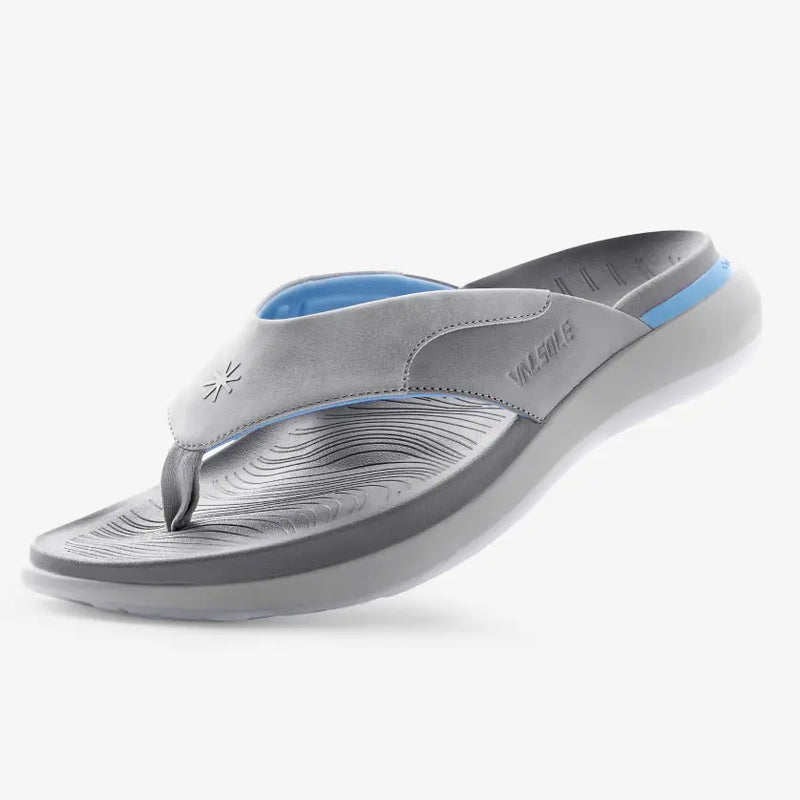

Heavy Duty
Strong arch support and pain relief for flat feet, plantar fasciitis, and heel pain....
$35.98$39.99
View product

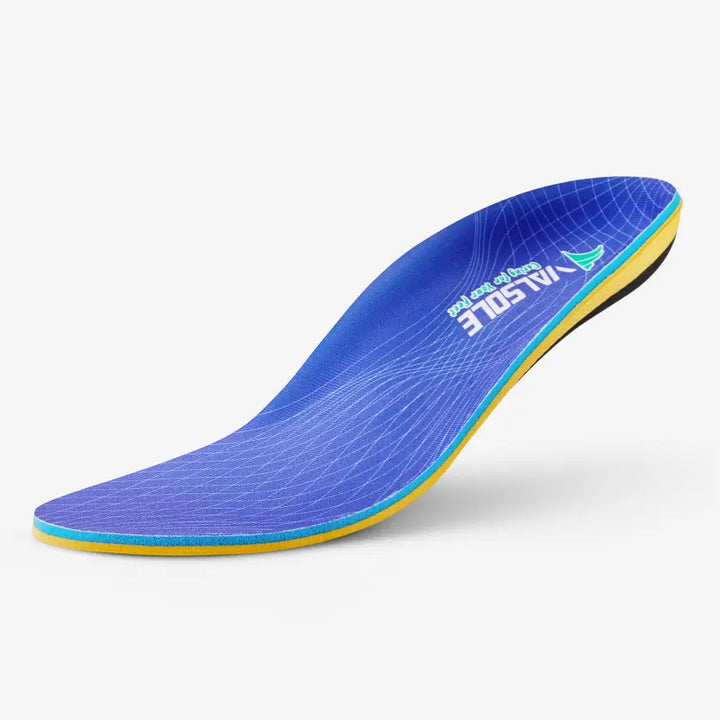
Unlike mass-market "one-size-fits-all" insoles, VALSOLE biomechanical supports are engineered to provide precise alignment. To achieve this, the insole must sit perfectly flat within your shoe without bunching or sliding. While our sizes are standardized, every shoe brand has a slightly different internal volume, making a custom trim often necessary for maximum comfort.
Trimming your insoles correctly ensures that the rigid support shell remains centered under your arch and the heel cup locks into the back of your shoe. This prevents mechanical shifting that can reduce the effectiveness of the Windlass Mechanism support.
Follow these steps to ensure you don't over-trim your new supports. The goal is a snug fit that fills the shoe without overlapping at the edges.
| Step | Action | Key Tip |
|---|---|---|
| 01 | Remove existing insole | Always take out the factory insole from your shoe first. |
| 02 | Trace the template | Use your old insole as a template; align the heels and trace the toe area. |
| 03 | Trim gradually | Cut slightly outside the line first. You can always trim more, but you can't add material back. |
| 04 | Test fit | Place the insole in the shoe and check for any bunching at the toes. |
If you are transitioning from soft, non-supportive shoes to a VALSOLE rigid support system, your feet will need time to adapt. It is normal to feel some initial pressure as your arches are guided back into proper alignment. We recommend a gradual wear schedule: start with 2 hours on day one, and add 1-2 hours each subsequent day.
By the end of the first week, the "new support" sensation should transition into consistent, all-day comfort. For a detailed day-by-day guide, see our Arch Support Break-in Timeline.
To keep your insoles performing at their best, follow these simple care instructions. High-performance materials like our support shells and anti-friction fabrics deserve proper upkeep.
Cleaning: Spot clean with a damp cloth and mild detergent. Do not submerge in water or place in a washing machine, as high heat can damage the bonding agents.
Drying: Air dry only. Avoid direct sunlight or radiators, which can warp the rigid support structure.
Replacement: While our support shells are highly durable, the cushioning layers will eventually compress. We recommend replacing your insoles every 6-9 months depending on your activity level and body weight. Check our Heavy Duty Insole for reinforced durability.
Need more sizing help? Review our Size Guide or contact our support team for a custom consultation.
Shop the products most relevant to the support path discussed in this article.

Keep reading with symptom-based guides and compare support options for your pain profile.


Loading size guide…