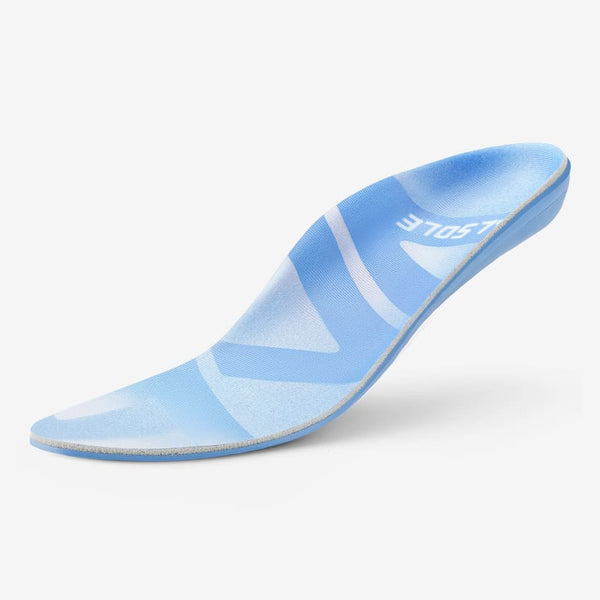
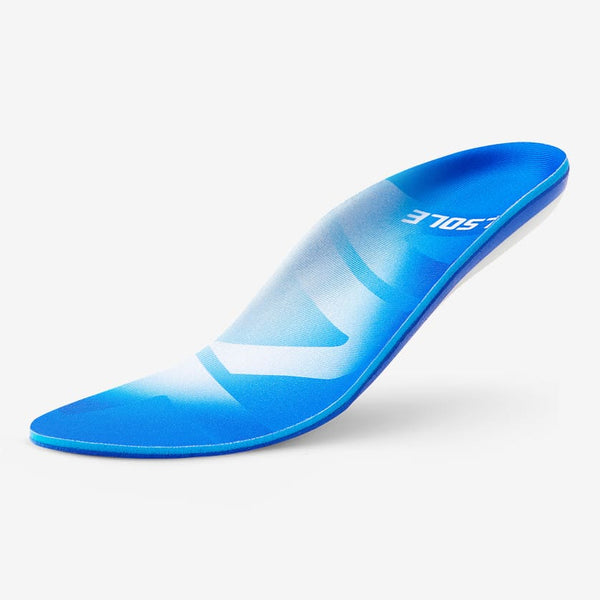


Stable Support
Built to deliver firm, reliable support with enhanced foot alignment and superior heel stability.
$37.99$39.99
View product

The right arch support is the lowest level that keeps you stable and pain-controlled across your real daily load. Too little support lets your foot collapse under fatigue; too much support creates new pressure points and unnatural gait patterns. Instead of selecting the highest arch profile by default, choose based on symptom location, activity intensity, and shoe structure, then validate results over one consistent week.
A useful target is this: fewer end-of-day symptoms, later fatigue onset, and no new hot spots. If those three outcomes improve together, your support level is probably close to optimal.
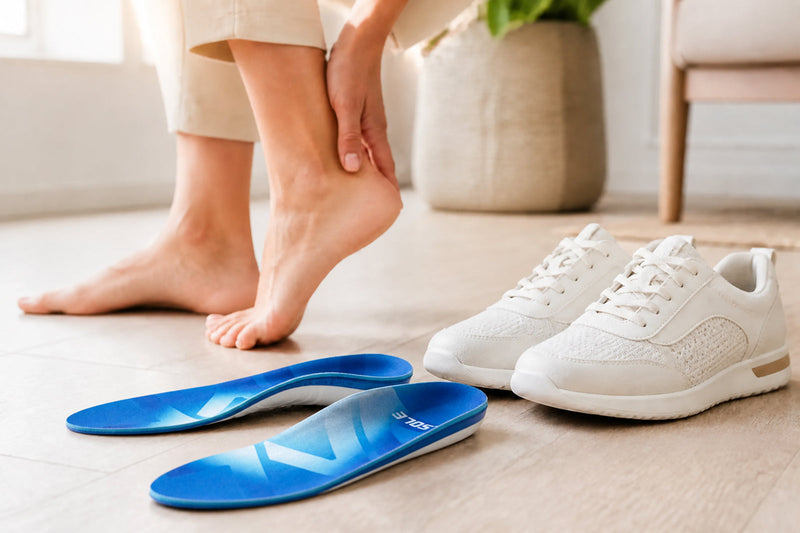
Under-support usually shows up as progressive arch fatigue, heel soreness after standing, and a “collapse” sensation during long shifts or stairs. Symptoms often return quickly after short rest because the base mechanics never stabilize. Over-support feels different: pressure ridges under the arch, forefoot discomfort, or a forced gait that feels less natural than before.
The key is pattern recognition rather than isolated moments. If discomfort consistently appears earlier each day, support calibration is likely off even when first-step comfort seems acceptable.
Start from your dominant symptom pattern and highest-load activity. If two categories overlap, prioritize the more stable support profile for workdays, then soften only if new pressure emerges.
| Primary pattern | Suggested support level | Best context | Adjustment trigger |
|---|---|---|---|
| Heel pain + arch fatigue late day | Moderate-to-firm support | Standing shifts, hard floors | If new midfoot pressure appears, reduce intensity slightly |
| Mild fatigue, mixed daily movement | Moderate support | Walking + desk + errands | If collapse returns by noon, increase structure retention |
| Arch pressure or gait feels forced | Softer contour / lower profile | Sensitive feet or narrow shoe volume | If heel instability returns, add heel control before adding arch height |
Input one is symptom location: heel-dominant, arch-dominant, or mixed. Input two is load pattern: standing hours, floor hardness, and intensity spikes during the day. Input three is shoe structure: stable base versus flexible platform. Most support mistakes happen when people evaluate only one input and ignore the other two.
Use the same shoe and sock conditions while testing. Consistent test conditions make it easier to see whether support changes are helping or simply masking the issue for a short window.
Track three daily metrics: morning first-step pain, time-to-fatigue during your main activity block, and end-of-day soreness intensity. Keep one variable fixed each day and adjust only one support parameter at a time. This avoids noisy feedback and helps you identify the true cause of improvement or regression.
At day seven, choose the profile that delivers the most stable total pattern, not the most dramatic single-day relief. Stability over multiple days is a better predictor of long-term comfort and compliance.
For next steps, use the Arch support guide to map your symptom profile, compare fit expectations with Stable Support insole, and review edge cases in the FAQ before locking in your final support level.
Shop the products most relevant to the support path discussed in this article.

Keep reading with symptom-based guides and compare support options for your pain profile.


Loading size guide…